#abstractlandscapephotography

petapixel@xn--y9azesw6bu.xn--y9a3aq

Photographing ‘The Gap’ in Torndirrup National Park

image

The year was 2014. I was seven years younger and because of that, it was a very good year. Do you remember the time when it didn’t hurt to get out of bed? When camera bags didn’t feel like bags of wet cement, and when your eyesight was so good you could spot a discounted Cabernet Sauvignon from one hundred paces? Ah those were the days. I shall remember them fondly.

So how did I get this shot? I am glad you asked. It wasn’t without some serious risk-taking on my part. As you may know from previous lies, I mean stories, I take landscape photography very seriously – so much so my wife has recently purchased Frankincense and Rosehip oil to help straighten out my frown lines. Remember when you didn’t have frown lines?

So really, how was this photograph taken?

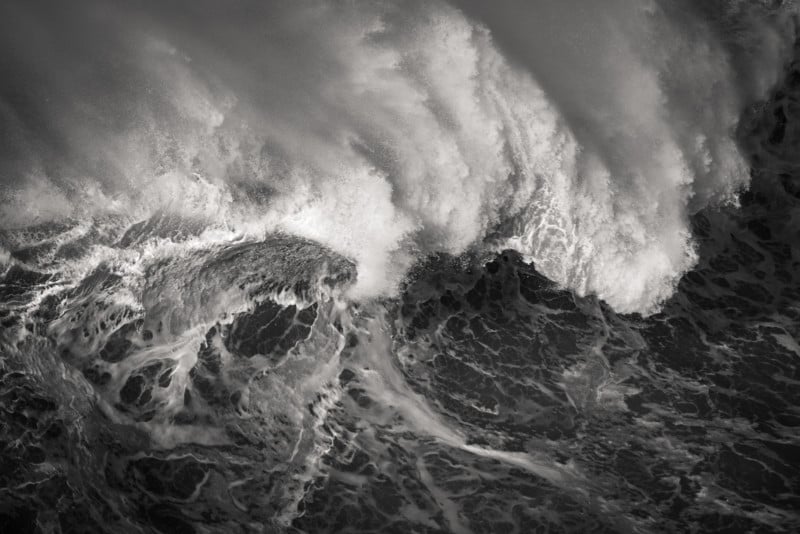
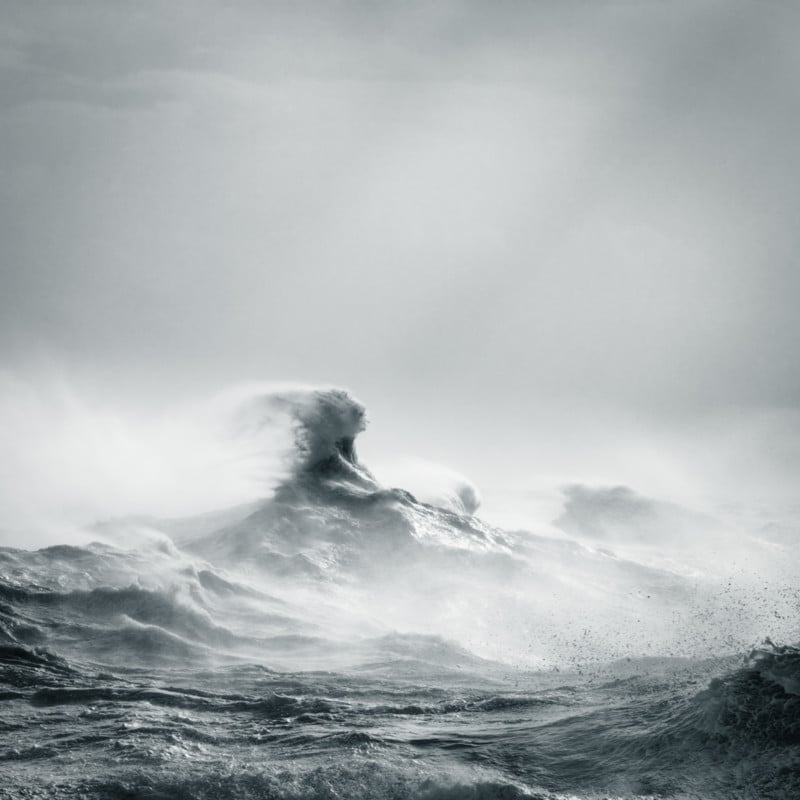
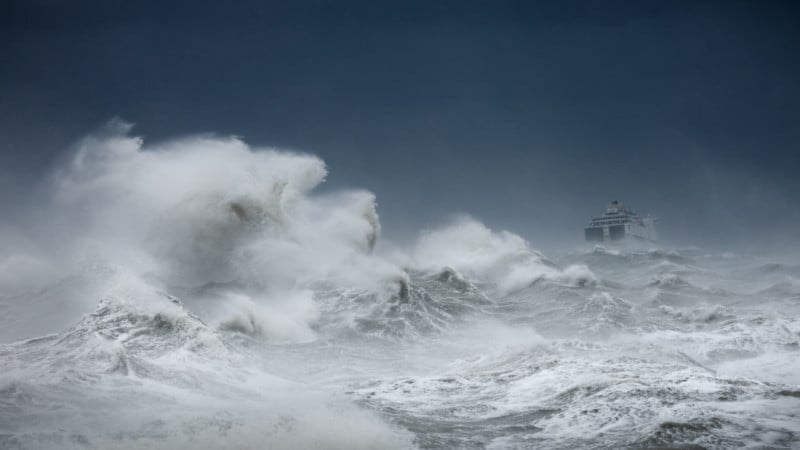
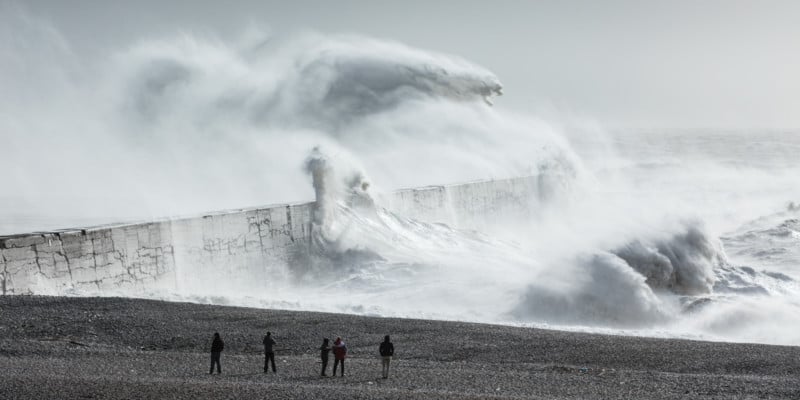
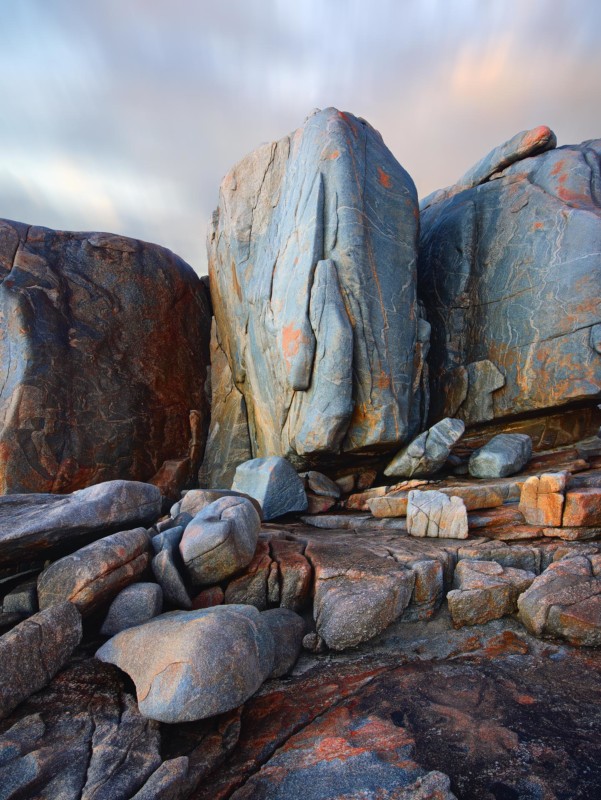
First, let me set the scene. It was in Torndirrup National Park at a spot called the Gap not far from the southern town of Albany in Western Australia. The coastline here is battered relentlessly by the Southern Ocean. If you go south from this spot the next landmass you hit is Antarctica. When the swell arrives, it is huge and angry. To say death is a likely outcome when photographing here might be an exaggeration, but it does help set the mood and make things rather more dramatic. What you don’t see behind the camera is the sheer drop into the cold dark water. If you take that drop, you won’t be developing the negs, if you know what I mean!

Rocks, sand, and the seashore against a bright red sunrise

The coastline, because of all this extreme weather, is rugged and photogenic. This group of rocks are larger than they look. In fact, if you fell off these you would probably die horribly. Luckily, I was born with common sense, or is it just common? Anyway, I didn’t think the view from the top was as nice as the view from the bottom. I was then interested in trying to balance the composition and offer interest in the foreground that would lead your eye to the rocks behind. I used a vertical crop to allow more of the foreground to tell the story. This also allowed me to balance the three rocks with the central one as the main point of interest.

The image was shot on my Phase One IQ280 with the 28mm Phase One lens. The shutter was 2.5 seconds with an aperture of f/12 and ISO 35. The camera was secured to a tripod as the light was low; it was before sunrise. Now you say, “Those clouds look to be moving way more than the 2.5-second exposure would imply.” You would be right in that and please let me offer up a defense.

The clouds weren’t moving fast enough and as a result, the sky looked a little, as an Aussie would say, “poxie.” Roughly translated it means pretty average! So being the purist I am and by asking the viewers to “look away, nothing to see here,” I possibly, maybe, definitely added a bit of motion blur to the sky in Photoshop. I know, I know, I can see you now shaking your fists at the screen screaming, “WHY, WHY?” I guess I just got lazy and must have left the ND filter back in the Lamborghini. Still, it is only a little thing, and the real heroes are the rocks. I have also focus-stacked this image from five individual frames, all focused on different points and combined using PT GUI.

In Capture One I messed around (i.e., carefully selected) the white balance to set the color I wanted. I also wanted to lighten and bring out the detail in the rock. By having blues and oranges, two complementary colors, it added to the visual harmony and overall pleasing aesthetic. Photoshop was used to continue to refine the image and I used simple dodging and burning techniques to lighten the light areas and darken the shadows. This allowed me to make the rocks look more dimensional and increase depth and three-dimensionality.

A brightly colored rock surrounded by a flock of birds against a stormy sky

I hope you have enjoyed my completely honest and unbiased technical report on how this image came together. What I haven’t mentioned was how I love what I do and how much fun I have doing it. Life is too short, so get out and enjoy the pure pleasure of making photographs. There are no rules, just pixels -- do with them what you want!


The article is courtesy ofELEMENTS Magazine. ELEMENTS is the monthly magazine dedicated to the finest landscape photography, insightful editorials and fluid, clean design. Inside you will find exclusive and in-depth articles and imagery by the best landscape photographers in the world such as Bruce Barnbaum, Edward Burtynsky, Michael Kenna, Erin Babnik, Chuck Kimmerle, Rachael Talibart, Charles Cramer, Hans Strand and Lynn Radeka, to name a few. Use the PETAPIXEL10 code for a 10% discount off the annual subscription.


About the author: Christian Fletcher has been a professional photographer for over 27 years, and remains dedicated to using photography as a way to reinforce our connection to our natural environment. Christian runs an award-winning gallery in Dunsborough, Western Australia, and teaches workshops both at home in Australia and internationally.

#spotlight #abstractlandscapephotography #elementsmagazine #fineart #fineartlandscapephotography #howitwasshot #landscapephotography #photographytechnique #technique

petapixel@xn--y9azesw6bu.xn--y9a3aq

Photographing Waves: One of The Most Rewarding Subjects

image

Waves are some of the most rewarding subjects for photography that I know. For starters, if you miss one, another will be along very soon! Of course, they are also unpredictable and can be dangerous. What is fascinating is that no single wave will be exactly the same as any other wave that has existed since the beginning of time. Mind-blowing stuff.

When you’re starting out in wave photography, it is helpful to have a rudimentary understanding of different types of waves and what you’re likely to encounter on different beaches. Wide beaches with shallow falls typically experience long, rolling breakers. These graceful waves are a pleasure to photograph. The curl of a rolling wave is attractive but this perspective can be elusive as the topography of the coast often fails to offer a side-on angle.


This story is brought to you byELEMENTS Magazine. ELEMENTS is the new monthly magazine dedicated to the finest landscape photography, insightful editorials and fluid, clean design. Use the PETAPIXEL10 code for a 10% discount off the annual subscription.


Some photographers take to the water with waterproof camera housings and capture amazing moments within or even underneath waves (although not on the beaches where I make photos!). Obviously, this approach is for confident swimmers and, if you want to try it out, I strongly recommend that you first spend time getting to know your location and how to navigate the waves there safely. However, if it isn’t safe to swim or you’d simply prefer to stay on terra firma, don’t give up just because you can’t access the popular “curl.” A front-on perspective can also work; the moment a breaker starts to drop is often all that’s needed to break the line and add visual interest.

On steeper, narrower beaches, there may be backwash. This is when water that has travelled up the beach falls back with enough power that, when it meets another wave, the water is pushed upwards, creating a wall. This is a marvellous subject and you can go wide to show the impact in its setting or zoom in tight to explore the textures. “Clapotis” is a sort of backwash wave. This lovely French word describes the moment that a wave, having bounced off a quay or cliff, crashes into another wave. The shapes often seem to defy gravity. This sort of photography is more like sports or wildlife than landscape work. Fast shutter speeds, responsive focusing and quick reflexes are the order of the day. I suggest you use high-speed continuous or burst mode and run off 3 or four frames for each wave.

As with everything, it pays to know your location and to have done your research. For example, if the wind is blowing from the north, there’s little point in visiting a south-facing beach backed by cliffs. However, if the land behind the beach is flat, a strong offshore wind may be ideal as it will hold back the waves, making them pile higher, and you’ll get spindrift off the top. Equally, think about the tide and the light. There are usually fewer waves at low tide. Harsh midday sun is difficult, and you’ll likely need a polariser to mitigate the shiny patches of water whereas backlit waves can be gorgeous when the sun is low.

Point of view makes all the difference and there are so many variations on the standard, head-height position. If you can get low, your waves will stand proud of the horizon. Not every beach gets big waves, but they all get waves of some sort, even if just from the wake of passing vessels. If you lie on the beach, even small waves can look mighty.

Alternatively, try a higher point of view, a clifftop perhaps. Photos taken from above are no longer about the size of the waves. Instead, they make the pattern the star of the show. Waves leave in their wake wonderful shapes that we never see from beach level. Next time you watch the sea from a cliff, notice the beauty of a wave’s footprint.

The sea is always moving so shutter speed is probably your biggest decision; 1/800 or faster will freeze the waves, capturing all the detail. However, slower shutter speeds are also hugely enjoyable. I particularly like ¼” as it keeps the wave’s overall shape, but the details seem like brushstrokes. In my photos, “Theia” and “Twist,” the waves are the same basic shape, but one is caught at 1/800 and one at ¼”. While we’re experimenting, how about adding some intentional camera movement. I like shutter speeds close to 1” and subtle movement so that I can still see the idea of a wave within the blur. I prefer not to use a tripod for ICM. I’m not looking for perfection here – I want the result to look like a painting and paintings aren’t perfect, at least the good ones aren’t.

If you’ve ever tried to photograph waves and been disappointed, I suggest you try a longer focal length. It will suck the viewer into the action and the wave will almost certainly look more exciting. Most of my storm waves were captured using a 70-200mm lens. More recently, I’ve been using a 100-400mm. This is harder because, at 400mm, it’s difficult to see enough of the sea to find the best waves. I’m enjoying the challenge. Long focal lengths offer a way to create difference. The casual viewer will see the big scene, but they won’t notice the curious textures within a wave. For this kind of work, you have to compose like a photographer of abstracts, thinking only of shape and colour, rather than the subject as a whole.

So far, I’ve concentrated on waves alone but waves as they break against the shore also make exciting subjects, stirring our imagination with awe and even fear. As these photographs tend to reference scale and location, they are often more documentary in style; however, that’s not always the case. I happened to publish my photograph, “Face-of” during the voting for the U.S. presidential election. This was entirely coincidental (I’m British), but several people commented that the picture represented the clash of candidates and ideologies! People will always find metaphors in the sea.

I’ve outlined just a few of the possible ways to photograph waves. As with any subject, the best approach is to be open-minded and willing to experiment. Try everything and see what happens, then make changes based on your experience. Be prepared to make a lot of bad photos (remember, this is more like sports than landscape photography). Above all, make sure you take time to just watch and listen to the waves. The sea’s music is beautiful and inspiring and I firmly believe you will make better art if you let it into your soul.

Safety

I don’t want to spoil the flow of the article with a homily on safety but I feel it would be irresponsible not to mention it at all. Waves can be dangerous. It’s important that you know the relevant tides, wind direction and speed. Working on a falling tide is safest. If it’s not safe to get as close to the waves as you would like, come back another day with a longer lens. Trust your instincts – if you feel at risk, you probably are. Lens hoods are good for keeping spray off the lens and I recommend that you always wipe everything down with fresh water after you leave the beach.


**The article is courtesy ofELEMENTS Magazine. **ELEMENTS is the new monthly magazine dedicated to the finest landscape photography, insightful editorials, and fluid, clean design. Inside you will find exclusive and in-depth articles and imagery by the best landscape photographers in the world such as Freeman Patterson, Bruce Barnbaum, Rachael Talibart, Charles Cramer, Hans Strand, Erin Babnik, and Tony Hewitt, to name a few. Use the PETAPIXEL10 code for a 10% discount off the annual subscription.


About the author: Rachael Talibart is a professional seascape and coastal photographer. Her critically acclaimed photographs of the ocean and coast have been featured in the press all over the world. Rachael is represented by galleries in Europe and the USA, her work is frequently exhibited and her limited-edition prints are collected internationally. She is the author of three monographs, including ‘Sirens’ and, most recently, Tides and Tempests. Rachael owns f11 Workshops, providing location and online photography training and she leads international photography tours for Ocean Capture. You will find Rachael Talibart’s series “Oceans and Odysseys” in the ELEMENTS Magazine.

#editorial #tips #travel #abstractlandscapephotography #abstractlandscapes #elements #elementsmagazine #fineart #fineartlandscapephotography #fineartphotography #landscapephotographer #landscapephotography #oceans #rachaeltalibart #waves