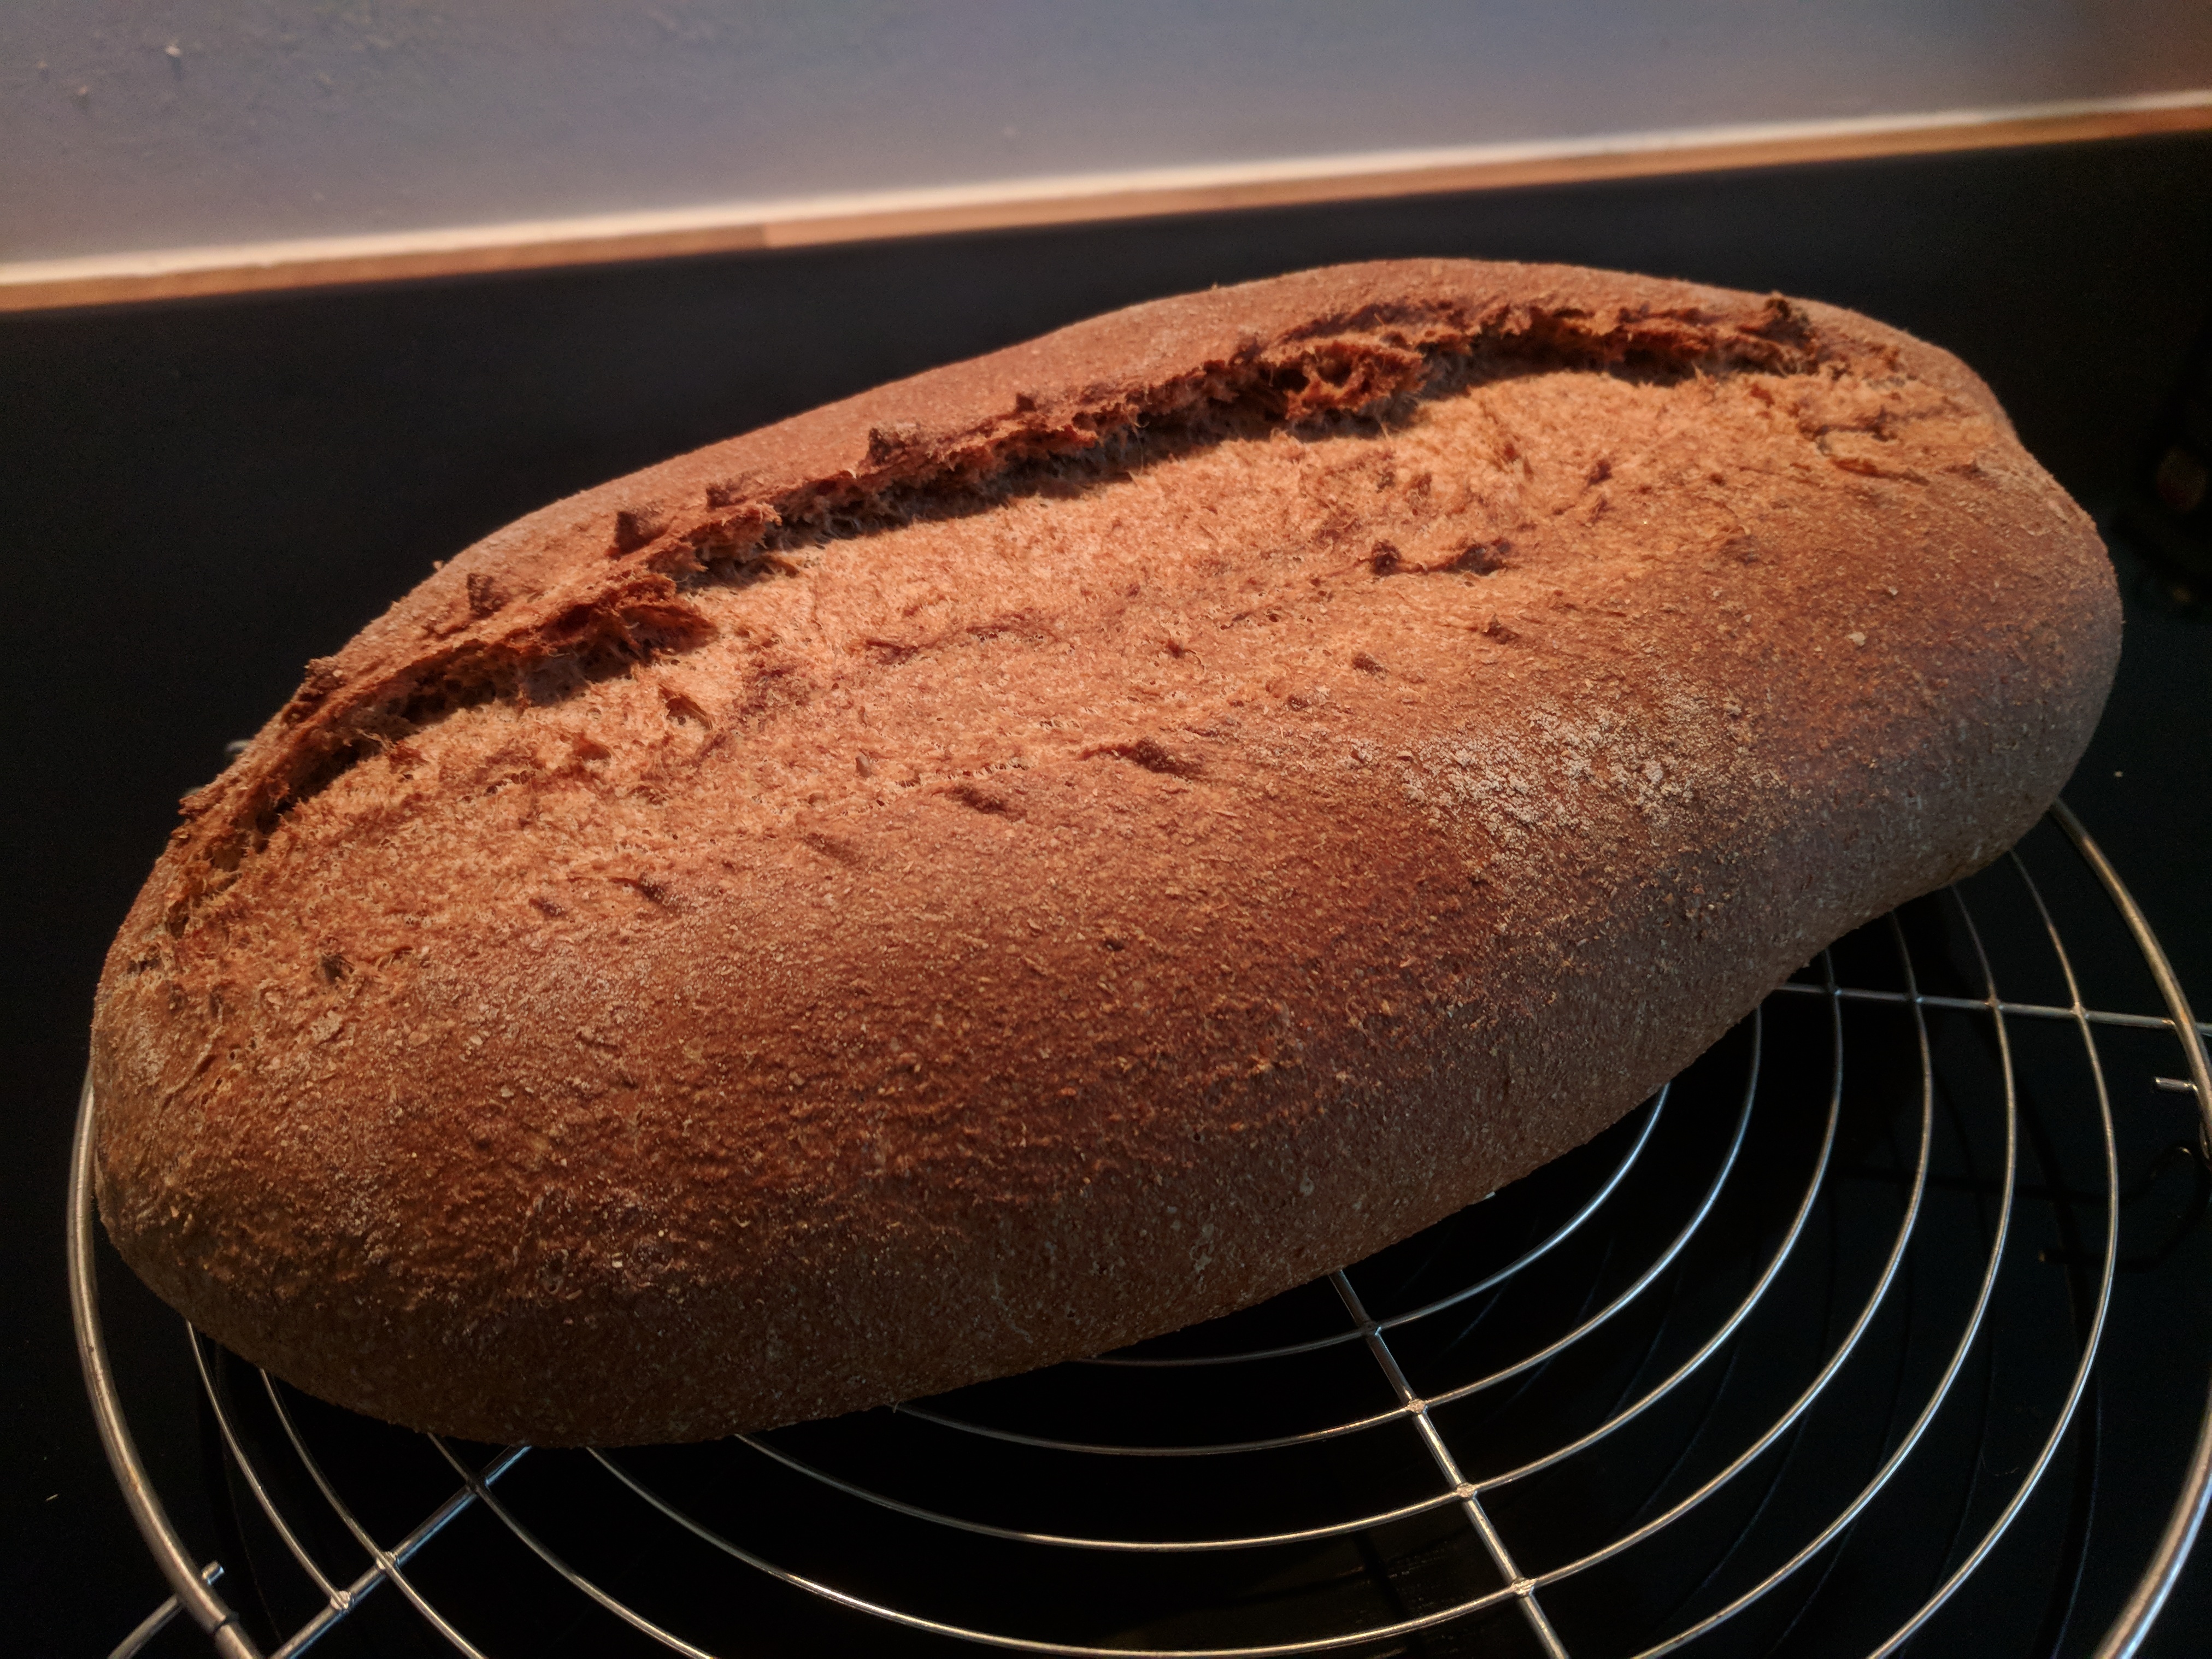
Somehow, I like baking bread enough, for it to be rewarding to order a fair amount of kilo's flour. The ordering process is the first part of enjoying freshly baked bread of my own making.
Happiness is a warm bread.
#breadbaking
Hey everyone, I’m #newhere. I’m interested in #music-, #musictherapy, #photo-amateur, and #ubuntu-.
I am in here because Pluspora seems to be in trouble, and I did not wanne loose all connections.
I am into #Coffee #Linux #Breadbaking & loads off other stuff.
3 Likes
4 Comments
2 Shares
challah
a common recipe
ingredients
675g gluten rich wheat flour
300ml or 350ml warm water
1 tbs wheat gluten (optional)
3-4 tbs fine caster sugar
1 tbs or 11g sachet easy blend yeast or ½ pack (21g) fresh yeast
2 large eggs
4 tbs oil
1½ tsp salt
1+ tbs oil for the proofing container and it's lid, grease all sides and have some oil remaining at the bottom
for the glace
1 small egg
some cold water
pinch of salt
poppy or sesame seeds
kneading by hand:
of course, just follow the phases as if you were a machine, but start with at least half the flour and use a wide bowl with room for both hands.
My advise is to add the eggs whisked with some of the water.
kneading by machine:
dissolve the fresh yeast in the water first, or add the dried yeast together with sugar, gluten and about 3-4 grocer's scoops of flour.
TM: use the flat beater; AR use the roller.
Mix vigourously at a fairly high speed, then let it rest until the mixture bubbles (think 10-15 minutes).
Then add the eggs, the oil and the salt, slowly add the remaining flour scoop by scoop, each taken up before adding the next one.
**TM* use the dough hook, regulus 2; add in the center*
**AR* use the roller between zone 2 and 3; add at the bowl's side*.
Now knead on that same speed for
**TM* 8 minutes
AR 12 minutes, after approx. 2 minutes fix the roller 2cm from the side*,
finish with
TM 4 minutes on regulus 4
AR fix the roller to the center of the bowl, 2 minutes with speed top of zone 4)
The dough should not feel sticky anymore, if so, add up to 2 tbs. of flour and give it some more minute.
Now add it to a floured board and knead for a further minute. It should feel fairly tight but spongy, with a silken surface.
Form the dough to a ball, roll the ball through through the oil in the container so it's fully covered, then close the container and immediately put it to refrigerate overnight, try and make the rest 10 hours or more.
Next morning, take out the dough and cut it in twice the strand-type equal portions.
Roll each portion into a ball, let them acquire a nicer temperature for about 5-10 minutes and then flatten the balls out by thoroughly beating them with the palm of your hand; fold the circle together by four sides and knead into a ball once again. Let them rest on a floured board for at least 10 minutes. This truly improves your bread's structure.
Now roll each ball from the middle out into a strand, 30cm long (I use the handle on my rolling board with 33cm as orientation), each slightly tapered at the ends. Try and get them equal lengths.
Make your two plaits, let them rise for approx. 1 hour in a large bag that fits your baking tray.
Preheat the oven to 230°C, static
Beat the small egg with some cold water and a pinch of salt.
Baste the loafs with a soft brush, then sprinkle with poppy or sesame seeds.
Put the tray in the oven, lowest position, and reduce the temperature to 200°C
Bake for 25-30 minutes and let the loafs cool on a rack.
#bread #breadbaking #homebaking #challah #recipe
oh BTW, that yukky looking misfit on the other post is made from this recipe's 6-strand. That batch lead to the other images too
plaiting your challah
In the three images that accompany this text you will find different directions for making your plaits. Confusing maybe, but certainly deliberate.
Working topside down or downside up is a personal preference; the same goes for numbering LTR or RTL.
My personal preference is downside up/RTL; with dough, that is.... when I practiced with rope and taught kids on how to do it, there was no time for developing a preference myself. The same might go for you, just try and find your's.
If you follow these steps, the result will be alike however you reach it.
Keep in mind: after each step the resulting position is numbered, not the strand itself.
Now just remember to press either end tightly together...
Starting with the most simple:
3 strands Bring alternate outer strands between the remaining 2 and repeat until the ends of the strands are reached.
now that is a nice start if you never plaited bread or if you have to make a near industrial production of hundreds of challot in just few hours. Try something more challenging...
4 strands Use the 300ml water dough option.
strand 2 over strand 3
strand 4 over strand 2
strand 1 over strand 3
repeat until you reach the other end.
still fairly simple, but the result looks far better
5 strands probably the best with the 300ml option as well.
strand 2 over strand 3
strand 5 over strand 2
strand 1 over strand 3
repeat until you reach the other end.
that looks nice, all those tiny bulbs
6 strands Use the 350ml water dough if you want to have slices, for just breaking the 300ml option gives a nicer result.
once: strand 6 over strand 1
then repeat until you reach the finish:
strand 2 over strand 6
strand 1 over strand 3
strand 5 over strand 1
strand 6 over strand 4
You may help the strands a bit by softly stretching to reach the end together.
now for the really difficult one, make sure your strands are no millimeter shorter than 30cm:
8 strands
once: strand 8 under strand 7 and over strand 1
then repeat until you run out of strands:
strand 2 under strand 3 and over strand 8
strand 1 over strand 4
strand 7 under strand 6 and over strand 1
strand 8 over strand 5
for those still in need of a challenge: the herringbone
7 strands Arrange the strands side by side, do not yet press any end together!
- Divide the bottom half with 4 strands on one side and 3 strands on the other;
- Bring the outside strands alternately tot the center, starting from the side with 4 strands;
- Join the ends (from that bottom side) and turn the top half towards you, then divide this other half with 4 strands on one side and 3 strands on the other;
- Bring the outside strands alternately to the center, starting from the side with 4 strands;
- After all the strands of dough have been plaited their full length, pinch all the free ends together, sealing them firmly;
- Turn the completed plait over on its side, then roll it gently to improve its shape.
[all schemes and restructured text on this last one from Evelyn Rose, The New Complete International Jewish Cookbook. ]
Alas I can't confirm, that trying the fishbone will lead to an acceptable result, but then I did my one time effort rather long ago. There's your challenge :)
baking your own challah
introduction to my tools, ingredients and considerations
kitchen machine
I have a longtime experience with mixers for my breads. For little less than 2 decades i used a Kenwood Chef, the last couple of years an Ankarsrum Original.
There is a lot in common, but sometimes the procedures differ. Where necessary I will differ between top-motor machines TM which are the most common (KitchenAid, Kenwood, Baer, Bosch, Solis etc. etc.) with a flat beater and a dough hook. For the bottom driven Ankarsrum with both a roller and a horizontal dough hook I'll use AR where apt.
proofing container
For proofing I use a transparent polycarbonate GN 1/4 15cm box with a tightly closing lid.
It has some advantages over the usual bowl:
you have the shape already formed, when forming the loaf needs a folded rectangle
it's way easier to cut equal portions
the container fits rather tightly between refrigerator shelves, thus keeping the lid in place when the yeasts get aggressive.
If you don't have a container with a lid, use household plastic wrap. If the dough tries to escape before you can use it, simply push it back but make sure the saranwrap still fits tight.
oven
I have two compact ovens, a combine baking oven and microwave and a combine steam and baking oven (circulation only). The latter is smaller even, fitting a GN 2/3 baking tray.
For that reason I bake my challah at their full size on a static in the combine baking without steam. The challot don't really need steam anyway, but if you have such a nice and modern full size oven with steam injection, don't hesitate to use that option.
For nice challot preheat your oven at 230°C, instantly turn back and bake on 200°C
utensils
a set of precise, standard kitchen spoons (5, 7½, 15ml needed)
a precise kitchen scale
a peeling knife to exactly level the ingredients
a dough knife
optional a 50ml grocer's scoop or a ¼cup/60ml measuring spoon
some people very disagree with me on hybrid measuring, but with a good set of spoons you will get constant results; the comfort in measuring (and dishwashing) is apparant.
wheat
take a good type of wheat flour, with as high a percentage protein as you can get.
My usual flour has 11.5%, that's the highest I can get in organic types (from the region; imports from far outside , against principles of organic ingredients, offer higher).
It could be used as such, but I prefer to add 1 tbs. of wheat gluten. If you can get a <11% only, do use extra gluten.
oil
For challah you need a lot of oil.
Usually one uses sunflower seed oil, or something as odour- and colourless1).
That gives a bread as white as a toothpaste commercial.
My ingredients are all organic, thus unbleached, which gives some grayish result. To be honest, it looks less appetizing that way.
Of course I could try and colour it with a thread of saffron soaked in the water. That however slightly changes the taste as well.
My solution is the use of cold pressed rapeseed oil (canola). That gives a slight yellow glow on the inside, enough to give the looks a boost.
Cold pressed rapeseed oil may never be heated, or it will loose all the beneficial properties. Moreover, heated over 70°C it will give both an abhorrent smell and taste.
Within the bread however, though the center temperature will rise up to 98°C, the taste and smell remain neutral. Even the rather recognisable taste of rapeseed oil is neutralised. Alas, that may also go for the superior properties.
For greasing the proofing container I use sunflower oil.
1) A very good alternative would be olive oil. Personally I'd go for refined oil, for processing reduces it's distinguished taste.
water
The amount of water is essential for the result you desire:
when adding 300ml on 675g of flour, which is about the default, you will recognise the strands after baking.
This has an advantage, when you break the loafs, plus it looks a lot nicer once broken.
When adding 350ml you will get some equal structure, more standard-bread like.
This has an advantage when slicing the loafs, the slice won't tend to fall apart; breaking is still possible, of course.
The amount of water influences baking time. For a 4-strand/300ml approx. 25' will do, for a 6-strand/350ml I set my oven to 30 minutes.
imho the 300ml combined with a 6-strand plait gives too tight, too small loafs.
The 6-strands with 350ml is the combination you'll see in the examples.
milk
There are many recipes for challah to be found.
Some of them even use milk when they point to the Jewish origins of the bread.
Now that is strange, because challah is usually baked for Shabbos: Friday evening and Saturday. Shabbos is pre-eminently the day of the week when meat is eaten; that would imply your challah couldn't be eaten or even not be shown on the table with that meal, according to Jewish law with it's strict separation of milk and meat.
Maybe for the feast of Shavuot, where milk meals are due, that combination may be made by some, but I never saw or heard of someone actually using milk.
From a Jewish bakery you'll only find pareve (no milk, no meat) challah for sure.
In Amsterdam challah (spelled either challe or galle, as it is pronounced in Yiddish transcribed to Dutch) is common at non-jewish bakeries too. While the kosher bakeries (very few remain) sell their challah on Friday morning, Saturday morning it is a common bread found in (still) many Amsterdam bakeries. Tradition remaining from a long gone era.
For as far as I know, they stick to the water only based recipe.
But plaited breads of enriched dough are not solitary confined to Jewish cuisine or tradition born from that influence. There are known recipes from Middle and Eastern Europe, so feel free to experiment (3½ parts water on 1 part milk, for example, as i found in a bread baking book ).
challah
What is challah?
The first portion of your kneading, you shall separate as a dough offering (challah)... In all your generations, give the first of your kneading as an elevated gift to G‑d
(Numbers 15:20-21)
That by the way is the sole place where the word 'challah' is to be found. It's origins are unknown, it's meaning expanded from the sole offering to the well known two breads baked for Shabbos and holidays.
Taking challah is done for any other bread, matzos or whatever bread-like baked as well, but then - obviously - in the original meaning.
Now the obligation of taking challah has a minimum amount of 1666g meal.
Not exactly something one will reach in usual household situations.
I have been looking for a book on the science of baking bread. I mean the actual science, not just an improper use of the word 'science' for a description of how to bake bread.
Anyways, I found this. I thought it might be of interest to my fellow bread bakers here.

6 Shares