

")


#gnu
So I guess systemd had an issue where it would fucking delete your /home/ folder? lmao
https://www.theregister.com/2024/06/20/systemd_2561_data_wipe_fix/
#libresoftware #init #gnu #linux #systemd
FSF Events: Free Software Directory meeting on IRC: Friday, November 29, starting at 12:00 EST (17:00 UTC)
Join the FSF and friends on Friday, November 29 from 12:00 to 15:00 EST (17:00 to 20:00 UTC) to help improve the Free Software Directory.
FSF Blogs: The FSF SysOps Team needs your help to secure technological freedom!
The FSF SysOps team has been hard at work over the past six months on quite a few major projects.
Simon Josefsson: Guix Container Images for GitLab CI/CD
I am using GitLab CI/CD pipelines for several upstream projects (libidn, libidn2, gsasl, inetutils, libtasn1, libntlm, …) and a long-time concern for these have been that there is too little testing on GNU Guix. Several attempts have been made, and earlier this year Ludo’ came really close to finish this. My earlier effort to idempotently rebuild Debian recently led me to think about re-bootstrapping Debian. Since Debian is a binary distribution, it re-use earlier binary packages when building new packages. The prospect of re-bootstrapping Debian in a reproducible way by rebuilding all of those packages going back to the beginning of time does not appeal to me. Instead, wouldn’t it be easier to build Debian trixie (or some future release of Debian) from Guix, by creating a small bootstrap sandbox that can start to build Debian packages, and then make sure that the particular Debian release can idempotently rebuild itself in a reproducible way? Then you will eventually end up with a reproducible and re-bootstrapped Debian, which pave the way for a trustworthy release of Trisquel. Fortunately, such an endeavour appears to offer many rabbit holes. Preparing Guix container images for use in GitLab pipelines is one that I jumped into in the last few days, and just came out of.
Let’s go directly to the point of this article: here is a GitLab pipeline job that runs in a native Guix container image that builds libksba after installing the libgpg-error dependency from Guix using the pre-built substitutes.
test-amd64-latest-wget-configure-make-libksba:
  image: registry.gitlab.com/debdistutils/guix/container:latest
  before_script:
  - lndir /gnu/store/*profile/etc/ /etc
  - rm -f /etc/group
  - groupadd --system guixbuild
  - for i in $(seq -w 1 10); do useradd -g guixbuild -G guixbuild -d /var/empty -s $(command -v nologin) -c "Guix build user $i" --system guixbuilder$i; done
  - export HOME=/
  - export LANG=C.UTF-8
  - guix-daemon --disable-chroot --build-users-group=guixbuild &
  - guix archive --authorize < /share/guix/ci.guix.gnu.org.pub
  - guix archive --authorize < /share/guix/bordeaux.guix.gnu.org.pub
  - guix describe
  - guix package -i libgpg-error
  - GUIX_PROFILE="//.guix-profile"
  - . "$GUIX_PROFILE/etc/profile"
  script:
  - wget https://www.gnupg.org/ftp/gcrypt/libksba/libksba-1.6.7.tar.bz2
  - tar xfa libksba-1.6.7.tar.bz2
  - cd libksba-1.6.7
  - ./configure
  - make V=1
  - make check VERBOSE=t V=1
You can put that in a .gitlab-ci.yml and push it to GitLab and you will end up with a nice pipeline job output.
As you may imagine, there are several things that are sub-optimal in the before_script above that ought to be taken care of by the Guix container image, and I hope to be able to remove as much of the ugliness as possible. However that doesn’t change that these images are useful now, and I wanted to announce this work to allow others to start testing them and possibly offer help. I have started to make use of these images in some projects, see for example the libntlm commit for that.
You are welcome to join me in the Guix container images for GitLab CI/CD project! Issues and merge requests are welcome – happy hacking folks!
FSF Blogs: Fresh off the digital Gutenberg: The fall 2024 Bulletin is now online
The latest issue of the Free Software Bulletin is now online. We've got a line-up of articles about abandonware traps, tools for cleaning up the Internet, and more!
libiconv @ Savannah: GNU libiconv 1.18 released
The GNU libiconv package provides the basis for character set conversion of text, for systems that don't use glibc.
It contains an implementation of the iconv() POSIX:2024 API and of the 'iconv' program, in a way that is mostly glibc compatible.
New in this release:
Many more transliterations, in particular also of Emoji characters.
The iconv_open function is now POSIX:2024 compliant: it recognizes a suffix //NON_IDENTICAL_DISCARD in the 'tocode' argument, with the effect that characters that cannot be represented in the target character set will be silently discarded. Whereas the suffix //IGNORE in the 'tocode' argument has the effect of discarding not only characters that cannot be represented in the target character set, but also invalid multibyte sequences in the input. Accordingly, the iconvctl function accepts requests ICONV_GET_DISCARD_INVALID, ICONV_SET_DISCARD_INVALID, ICONV_GET_DISCARD_NON_IDENTICAL, ICONV_SET_DISCARD_NON_IDENTICAL.
The iconv_open function and the iconv program now support multiple suffixes, such as //TRANSLIT//IGNORE, not only one.
GB18030 is now an alias for GB18030:2005. A new converter for GB18030:2022 is added. Since this encoding merely cleans up a few private-use-area mappings, you can continue to use the GB18030 converter, for backward compatibility. Its Unicode to GB18030 conversion direction has been enhanced, to help transitioning away from PUA code points.
When converting from/to an EBCDIC encoding, a non-standard way of converting newlines can be requested
- at the C level, by calling iconvctl with argument ICONV_SET_FROM_SURFACE or ICONV_SET_TO_SURFACE, or
- from the iconv program, by setting the environment variable ICONV_EBCDIC_ZOS_UNIX to a non-empty value.
Special support for z/OS: The iconv program adds a charset metadata tag to its output file. (Contributed by Mike Fulton.)
For conversions from UCS-2, UCS-4, UTF-16, UTF-32, invoking iconv(cd,NULL,NULL,...) now preserves the byte order state.
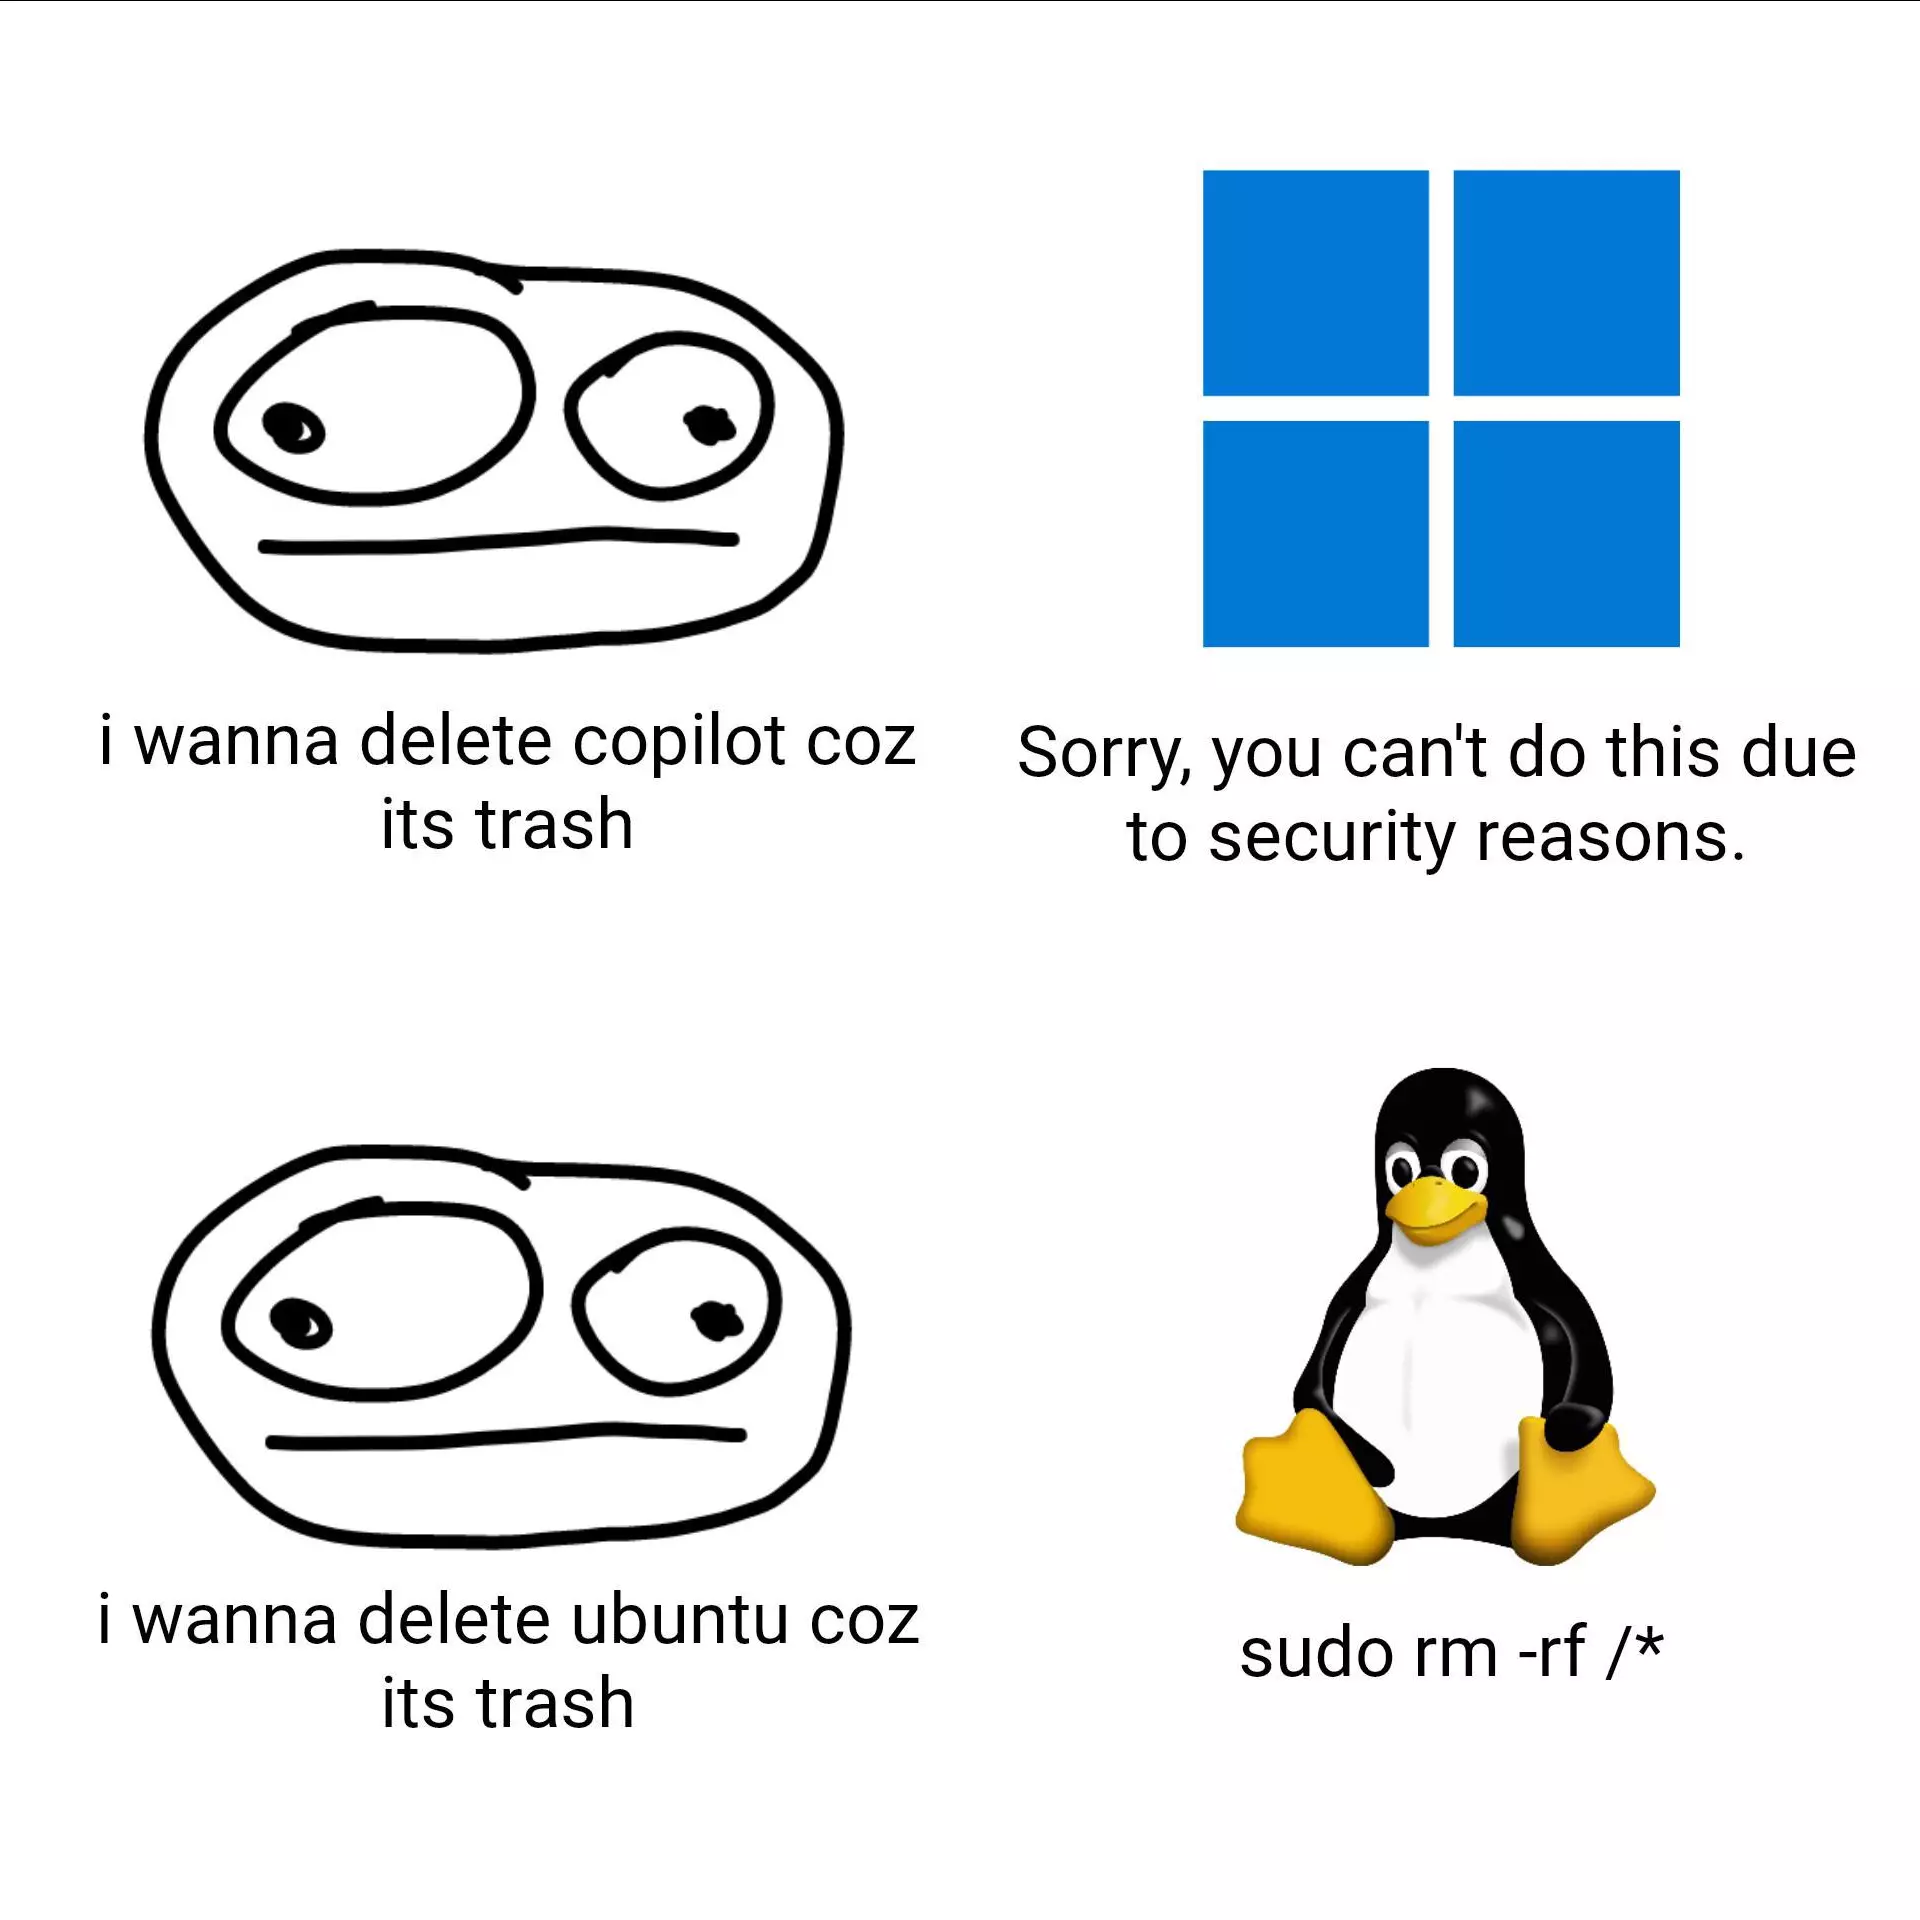
The #difference is #Linux lets you realize your will no matter how absurd it is ... 🐧👍
#gnu #meme #windows #microsoft #ubuntu #copilot #install #uninstall #memes #admin #administrator #user #nerd #humor #just4fun #joke #fun #funny #lol #lmao #rotfl #software #os #customize #configuration
FSF Events: Free Software Directory meeting on IRC: Friday, December 20, starting at 12:00 EST (17:00 UTC)
Join the FSF and friends on Friday, December 13 from 12:00 to 15:00 EST (17:00 to 20:00 UTC) to help improve the Free Software Directory.
FSF Blogs: FSD meeting recap 2024 12 13
Check out the important work our volunteers accomplished at today's Free Software Directory (FSD) IRC meeting.
FSF Blogs: IDAD 2024 - Dec. 20: For freedom, against restriction
Don't let computers go to waste and join us in fighting restriction on December 20 for the eighteenth International Day Against Digital Restrictions Management (IDAD).


FSF Events: Free Software Directory meeting on IRC: Friday, December 13, starting at 12:00 EST (17:00 UTC)
Join the FSF and friends on Friday, December 13 from 12:00 to 15:00 EST (17:00 to 20:00 UTC) to help improve the Free Software Directory.

GNUnet News: GNUnet 0.23.0
GNUnet 0.23.0 released
We are pleased to announce the release of GNUnet 0.23.0.
GNUnet is an alternative network stack for building secure, decentralized and privacy-preserving distributed applications. Our goal is to replace the old insecure Internet protocol stack. Starting from an application for secure publication of files, it has grown to include all kinds of basic protocol components and applications towards the creation of a GNU internet.
This is a new major release. It breaks protocol compatibility with the 0.22.0X versions. Please be aware that Git master is thus henceforth (and has been for a while) INCOMPATIBLE with the 0.22.0X GNUnet network, and interactions between old and new peers will result in issues. In terms of usability, users should be aware that there are still a number of known open issues in particular with respect to ease of use, but also some critical privacy issues especially for mobile users. Also, the nascent network is tiny and thus unlikely to provide good anonymity or extensive amounts of interesting information. As a result, the 0.23.0 release is still only suitable for early adopters with some reasonable pain tolerance .
Download links
- gnunet-0.23.0.tar.gz ( signature )
- gnunet-0.23.0-meson.tar.xz ( signature ) NEW: Test tarball made using the meson build system.
- gnunet-gtk-0.23.0.tar.gz ( signature )
- gnunet-fuse-0.23.0.tar.gz ( signature )
The GPG key used to sign is: 3D11063C10F98D14BD24D1470B0998EF86F59B6A
Note that due to mirror synchronization, not all links might be functional early after the release. For direct access try http://ftp.gnu.org/gnu/gnunet/
Changes
A detailed list of changes can be found in the git log , the NEWS and the bug tracker . Noteworthy highlights are
- Code review: A number of issues found during a code review have been addressed.
util: AGNUNET_OS_ProjectDatamust now be passed to some APIs that are commonly used by third parties using libgnunetutil (e.g. Taler, GNUnet-Gtk) as to properly handle cases where the GNUnet installation directory is different from the third-party directory.Build System: Improved build times by outsourcing handbook to prebuilt files and only generating GANA source files manually.
Known Issues
- There are known major design issues in the CORE subsystems which will need to be addressed in the future to achieve acceptable usability, performance and security.
- There are known moderate implementation limitations in CADET that negatively impact performance.
- There are known moderate design issues in FS that also impact usability and performance.
- There are minor implementation limitations in SET that create unnecessary attack surface for availability.
- The RPS subsystem remains experimental.
In addition to this list, you may also want to consult our bug tracker at bugs.gnunet.org which lists about 190 more specific issues.
Thanks
This release was the work of many people. The following people contributed code and were thus easily identified: Christian Grothoff, TheJackiMonster, oec, ch3, and Martin Schanzenbach.
GNUnet 0.23.0 released
We are pleased to announce the release of GNUnet 0.23.0.
GNUnet is an alternative network stack for building secure, decentralized and privacy-preserving distributed applications.
Our goal is to replace the old insecure Internet protocol stack.
Starting from an application for secure publication of files, it has grown to include all kinds of basic protocol components and applications towards the creation of a GNU internet.
This is a new major release. It breaks protocol compatibility with the 0.22.0X versions. Please be aware that Git master is thus henceforth (and has been for a while) INCOMPATIBLE with the 0.22.0X GNUnet network, and interactions between old and new peers will result in issues.
In terms of usability, users should be aware that there are still a number of known open issues in particular with respect to ease of use, but also some critical privacy issues especially for mobile users.
Also, the nascent network is tiny and thus unlikely to provide good anonymity or extensive amounts of interesting information.
As a result, the 0.23.0 release is still only suitable for early adopters with some reasonable pain tolerance.
https://www.gnunet.org/en/news/2024-12-0.23.0.html
#gnu #internet #network