
Ich nutze aktuell einen #Raspberry mit #PiHole. Jetzt habe ich noch einen Raspi frei. Ich möchte gerne noch #Nextcloud und #Kodi auf einem Raspi laufen lassen. Brauche ich dafür zwingend noch einen Raspi, oder gibts da eine andere Lösung? Das ich zwei Sachen auf einen Raspi mach, oder so?
#raspberry
Raspberry Pi does what Microsoft can't!
Uh, it looks like the Raspberry Pi 4 soon get's a new capability:
Installing an OS from the internet, w/o any prerequisites except for having a blank microsd to install it on.... *NOICE*!
See Jeff Gerlings video: Raspberry Pi does what Microsoft can't!
Or click here:
https://www.youtube.com/watch?v=qlBIfpBwqKY
https://redirect.invidious.io/qlBIfpBwqKY
#Raspberry #Pi #Pi4 #Opensource #Internet #randomshit ;)
4 Likes
3 Comments

Raspberry mit 7-Zoll Display Problemlösung
Inzwischen hat man bei der #Raspberry Foundation auf #Debian #Bullseye aufgerüstet. Demzufolge habe ich das OS in meinem Papprechner aktualisiert und dabei gleich eine 240GB SSD an den #PI4 angesaftet. Läuft alles soweit gut. Dummerweise nicht die Displayauflösung. Obwohl ich die Daten aus der /boot/config.txt übernommen habe, passt es zwar auf dem Textbildschirm, aber auf dem Desktop fehlen die Ecken. Die Lösung hat mich einige Zeit gekostet. Erstmal musste der #hdmi_mode von 87 auf 88 verändert werden. Danach hatte man im ARandR Bildschirmlayout-Editor auch die Auflösung 1024x720. Blöderweise musste man nach jedem Start diese wieder neu einstellen.
Weiteres Googeln und probieren hatten dann mich zu folgender Lösung gebracht:
Als root folgende Datei erstellen:
nano /etc/xdg/autostart/.desktop
mit dem Inhalt:
[Desktop Entry]

Type=Application

Name=xrandr

Exec=xrandr --output HDMI-1 --mode 1024x600 --preferred
Nach dem Speichern sollte von nun an die Auflösung beim Start passen. Diese Methode sollte auch bei anderen exotischen Monitoren klappen, solange sie vom System erkannt werden. In diesem Fall muss man möglicherweise mit dem hdmi-mode in der /boot/config.txt herumspielen.
5 Likes
Back to BASIC
Wie geil, den Raspberry Pico in Basic programmieren. 🤣
https://geoffg.net/picomite.html
#raspberry #pico #basic
3 Likes
1 Comments
Leichte Besserung der Gesundheit meinerseits.
Zum einen sind die quälenden Depressionen zur Zeit nicht vorhanden. Zum anderen kann ich mich auch wieder länger am Stück konzentrieren. Und dadurch macht natürlich alles mehr Spaß. Ich habe die Tage meine Schilddrüsenmedis selbständig erhöht, weil es bis jetzt schon in die richtige Richtung ging. Kasse zahlt Bluttest leider nur alle 3 Monate. Da muss man halt kreativ sein.
Das Wochenende und die gute Stimmung habe ich genutzt, um den NAS-Server, von welchem ich letztens gesprochen habe, weiter "aufzubohren".
Bisher hatte ich ja neben dem Western Digital NAS aus 2013 zusätzlich noch einen Raspberry PI als Miniwebserver und Konzentrator für meine Webcams und sonstige IoT Gerätschaften um Daten vom internen Netz kontrolliert nach aussen zu bekommen und umgekehrt. Ich möchte nicht an vielen Stellen Ports nach aussen freigeben, da bin ich etwas paranoid. Und so habe ich einen Apache Webserver inkl. PHP und MqSQL mit der Adminsoftware "Froxlor" installiert und eine Subdomain nach aussen freigegeben, selbstredend inkl. SSL. Trick ist, die Administration läuft nur im internen Netz, somit ist die Sicherheit gewährleistet.
Nun fragen sich natürlich einige, wie man dann von unterwegs auf das NAS zugreifen kann und wieso ich keine Standardsoftware wie OpenMediaVault verwende? Ganz einfach, da weiss ich nie, ob es irgendwelche Sicherheitsprobleme geben kann. Die gibt es leider zu häufig. Da müsste man stetig das System auf dem neuesten Stand halten. Und ja, auch das würde automatisch gehen. Aber ich bin ein alter paranoider Sack, welcher ein Problem damit hat, wenn Sachen unkontrolliert irgendwo hintelefonieren oder man nicht weiß, was unter der Haube so funktioniert.
Meine Standardkonfiguration für Webserver nutze ich seit 17 Jahren und habe erst ein einziges Mal durch ein unsicheres CMS mir vor 15 Jahren mal was eingefangen. Seitdem nutze ich kein Standard CMS mehr sondern entweder ich wurschtel was von Hand zurecht oder nehme übersichtliche Software mit möglichst wenig Angriffsfläche. Ich empfehle gerne https://www.cmsimple.org/ Das braucht nicht einmal eine Datenbank und reicht für viele Zwecke aus.
So, gut. NAS läuft, Webserver nebst Verwaltung auch. Aber wenn NAS und Verwaltung von aussen nicht zugänglich ist, was dann?! Die Antwort ist auch recht simpel und nennt sich OpenVPN. Also habe ich das auch noch auf den PI4 installiert. Nun kann ich auf Smartphones wie auch Notebook den passenden OpenVPN Client installieren um von ausserhalb in mein internes Netz zu kommen. Seit Corona ist sowas ja bei vielen Dienstrechnern zum Standard geworden, wenn man im Homeoffice ist.
Somit ist nun das alte WD NAS sowie mein alter Raspberry PI3 Geschichte. Der PI4 übernimmt das alles, und das noch schneller als vorher. Eine kleine Erweiterung habe ich aber noch im Hinterkopf, nämlich an den zweiten USB3-Port eine weitere externe Festplatte anzuschließen, diesmal aber eine 3,5 Zoll mit externem Netzteil. Dort möchte ich dann zusätzliche Datensicherheit durch rsync einbringen. Jaja, meine Paranoia. :)))))
Will sagen, das ganze System kann man vielleicht auch als Security durch Obscurity bezeichnen, da es zwar vermutlich auch Lücken haben kann, diese aber kaum zu finden sind, da es Handarbeit ist. Bösewichte werfen sich ja hauptsächlich auf standardisierte Dinge. Port 80 und 443 TCP sind offen und ein UDP Port für OpenVPN, natürlich nicht der Standardport. Alles andere ist zugenagelt und ist nur entweder direkt zuhause oder über VPN erreichbar.
Als zusätzliches Schmankerl bin ich über das VPN unterwegs am Handy übers Festnetz erreichbar. Ist allerdings heutzutage fast obsolet geworden wegen Flatrates.
Ich bin jedenfalls zufrieden, dass die Installation recht flüssig geklappt hat. OK, Freitag abend bis Samstag morgen 2 Uhr. Und dann die Reste noch heute mittag.
#nas #raspberry #openvpn #froxlor #hashimoto
11 Likes
6 Comments
Raspberry 4 als NAS mit externer HDD
Hier die genauere Beschreibung meines Projekts. Sollte für mittelprächtige Bastler zu wuppen sein und für Profis viel Raum zur Weiterentwicklung bieten. Nachdem ich heute 2 TB von der einen zur anderen Platte geschoben habe, gefällt mir das Ergebnis recht gut.
#NAS #Raspberry #Debian #64Bit #Samba
https://technik.katzenjens.de/2021/11/preiswertes-selbstbau-nas-mit-raspberry.html

8 Likes
5 Comments
1 Shares
Und 64 Bit Linux ist auch auf dem Raspberry PI besser!
Auch wenn die RasPI Entwickler anderes behaupten und 32 Bit immer noch als Standard vorgeben. Inzwischen haben sie zwar auch 64 Bit Images, raten aber trotzdem davon ab. Auch weil sie nicht so gut betreut werden wie die 32-Bitter.
Kleines Beispiel:
Meinen kleinen NAS-Server hatte ich mit einem Standard Raspbian bestückt. Nach einigen Tweaks lief das NAS dann lesetechnisch bei Full Speed über Gigabit Netzwerk. Beim Schreiben allerdings eierte es bei 60-70 MByte herum. Ein htop zeigte das Problem auf: Von den 4 Kernen waren drei gelangweilt und einer auf 100% während des Filetransfers.
Nun habe ich heute dann mal ein reines Debian 64 Bit ausprobiert. Äusserst minimal. Das kommt mir entgegen, weil ich wenig Ballast auf dem NAS haben will. Also stumpf Samba und Zubehör installiert. Diesmal ohne Tweaks sondern Standardconfigs. Und siehe da, Lesen und Schreiben nutzen die Netzwerkleitung zu 100% aus. Dabei sind alle 4 Kerne gleichmäßig ausgelastet und haben noch genug Overhead für weiteres.
Falls Interesse besteht, kann ich es ja genauer beschreiben in meinem Blog. Ist alles kein Hexenwerk und habe ich so zwischen Kaffee und Abendbrot gewurschtelt.
https://raspi.debian.net//
#raspberry #debian #64bit
11 Likes
3 Comments
1 Shares
Das riecht nach Mehraufwand...
https://www.raspberrypi.com/news/raspberry-pi-os-debian-bullseye/
#raspberry #bullseye

2 Likes

Selbstbau-Billig-Mini-NAS
@masek@societas.online war so nett, mir einen #Raspberry 4 zukommen zu lassen. Danke dafür! Dann war #Mediamarkt so nett, sich beim Geburtstagsgutschein zu meinen Gunsten zu verrechnen, und so habe ich für unter 90€ eine 2,5 zöllige HDD mit 5TB bekommen. Auch danke! Ein Gehäuse ausgedruckt. Kleines Raspbian auf SD-Karte gebraten. Dann die HDD dran. Lange gewurschtelt und geflucht, bis ich maximale Datenrate von umme 1GBit Durchsatz hatte. Viele der tollen Anleitungen im Netz sind eher nicht so... Es geht im Endeffekt doch nix über manpages. Seufz. Ende vom Lied, HDD händisch in die fstab gedengelt. #Samba installiert und die conf händisch optimiert. Weniger ist in diesem Fall mehr. Und siehe da, Durchsatz und Stabilität wie es sein sollte.
Einzig beim Idle-Modus der WD-Platte musste ich nachhelfen. Mittels hdparm war es nicht inne Gänge zu kommen. Also hd-idle gebacken und tatsächlich, nach der gewünschten Zeit geht das Teil tatsächlich aus. Und da das Bootsystem auf SD-Karte ist, wacht die HDD auch nur bei Gebrauch auf. Nicht so wie mein fast 7 Jahre altes WD-NAS mit antiker Firmware. Der ist so langsam in jeglicher Hinsicht am Ende seiner Lebensdauer angekommen.
Ich hätte es mir natürlich auch einfach machen und #OpenMediaVault installieren können. Aber wozu? Ich will selbst wissen, was im Hintergrund läuft. Cloudanbindung oder fancy Weboberfläche brauche ich nicht. SSH und Kommandozeile sind mein Freund.
Für mich war das alles auch therapeutisch wertvoll. Konnte ich doch bis vor Kurzem kaum noch etwas komplizierteres machen. Die Gesundheit war durch #Hashimoto und der dadurch gestressten #Schilddrüse immer weiter beeinträchtigt. Die Medikation zeigt nach ein paar Wochen die ersten Erfolge. Bis ich überhaupt erst auf diese Ursache gestoßen bin, hat es aber gedauert. Das Gesundheitssystem hierzulande ist inzwischen nicht mehr so der Bringer. Wenn man da nicht selbst aktiv wird, passiert entweder gar nix oder man wird schlicht falsch behandelt.
Somit freue ich mich, dass es aufwärts geht und ich langsam wieder Spaß an Dingen habe.
#NAS #computer #linux #elektronik
16 Likes
5 Comments

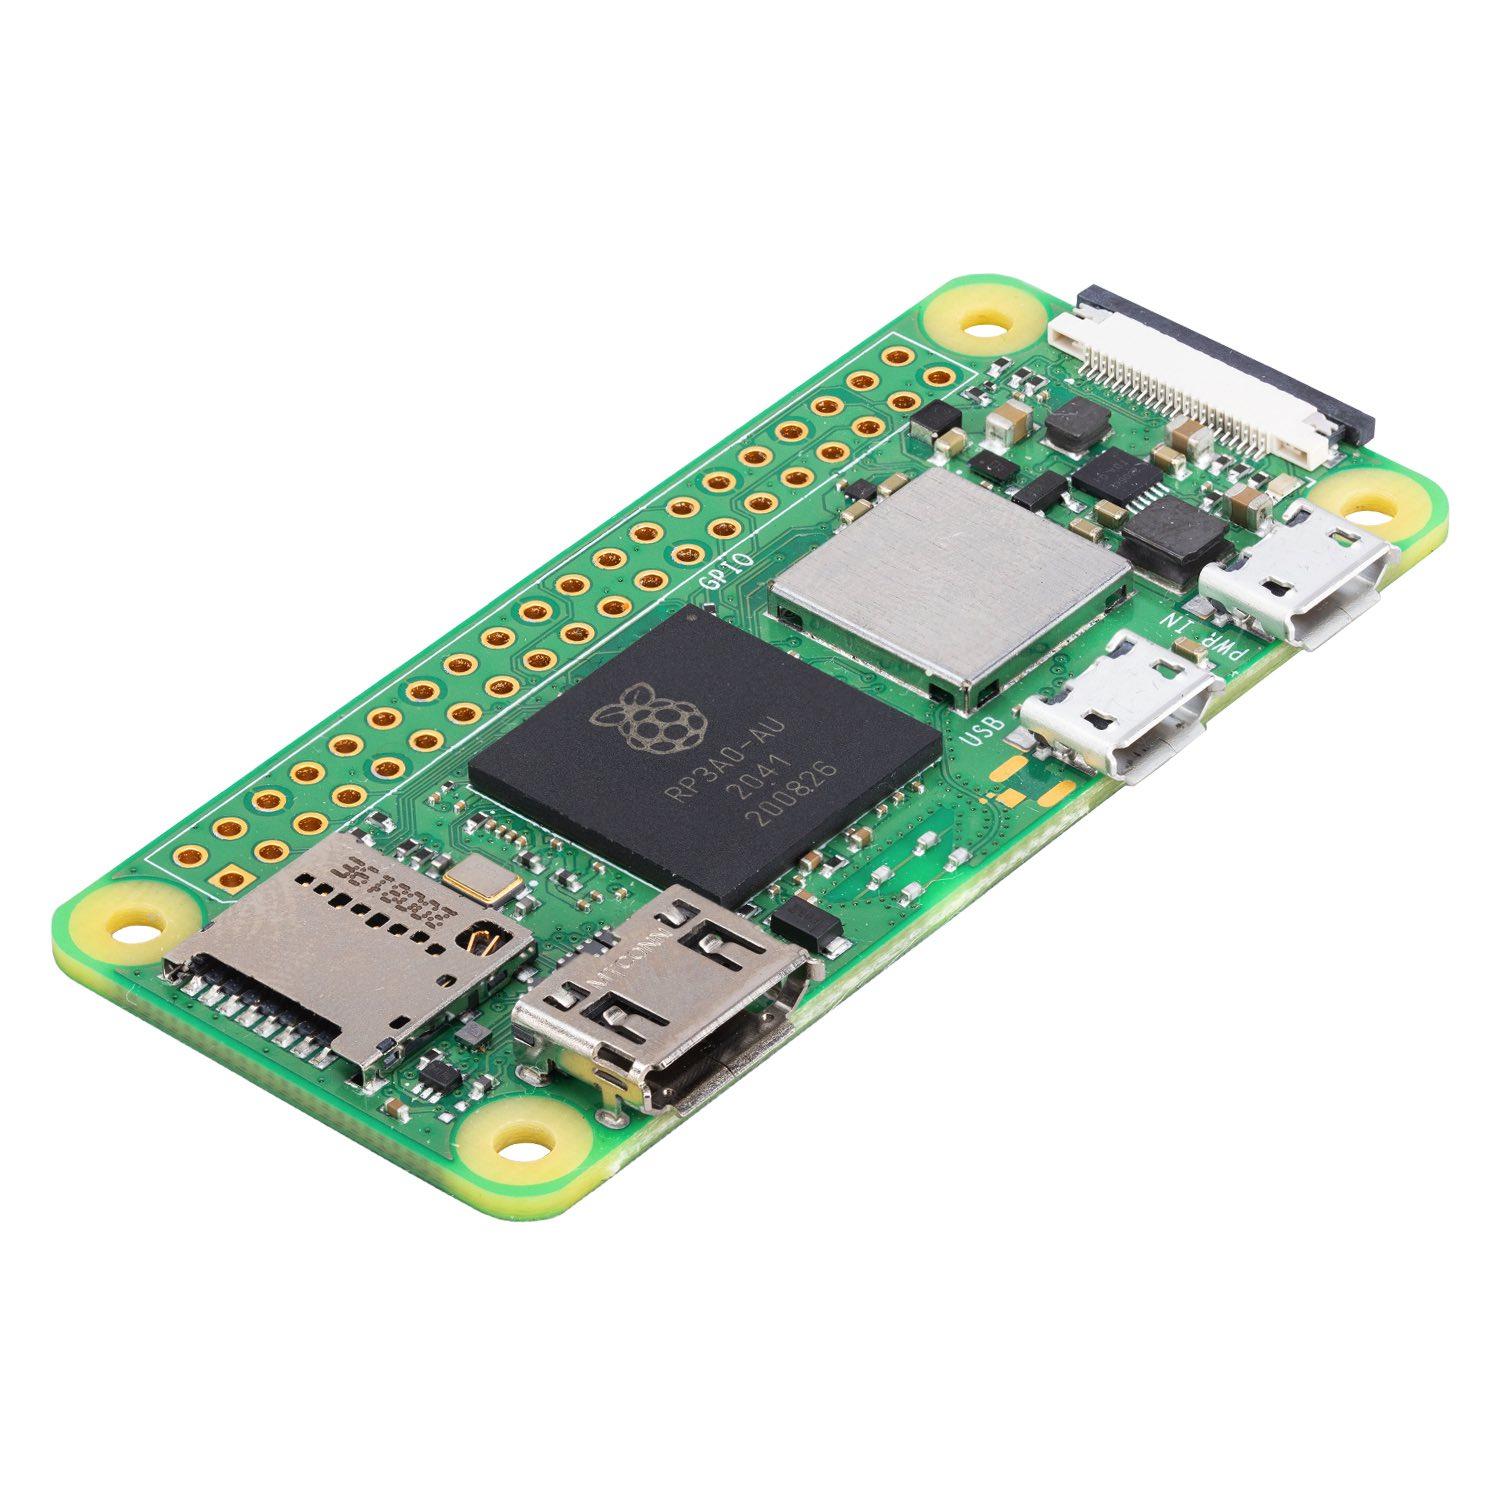
Technisches Spielzeug eingetroffen...
Raspberry PI Zero 2 W, HDMI zu USB3, DVI-Sock für Raspberry Pico, Luftsensor Breakout
Inzwischen ist es gar nicht mehr so einfach, an Sachen heranzukommen. Der Chipmangel und weitere Probleme schlagen auch hierzulande langsam auf. Ich vermute mal, Weihnachten wird an vielen Ecken aus Gutscheinen und Bargeld bestehen.
Ich warte nur noch auf Liefernotstand bei Socken und Unterwäsche...
#raspberry
5 Likes
Ha! Habe den neuen Raspberry PI Zero ergattern können!
Vermutlich isser jetzt schon wieder ausverkauft. Die Seite zickte schon bei der Bestellung.
https://www.berrybase.de/detail/index/sArticle/9202/sCategory/319
#raspberry #zero2w
4 Likes
3 Comments
3 Likes
4 Comments
Raspberry Pi 400


Raspberry Pi 400
I felt the urge to get a Raspberry Pi 400 now that it has the scandinavian keys. Here are some of my first impressions.
Box contents
Holding the computer in my hand made me smile. It does have something in common with those small ZX Spectrum and Oric computers. Also, when was the last time there was a computer with a row of pins sticking out from the back?
Apart from the 400, the box contained a PSU and a Micro-HDMI to HDMI cable and a mouse. As a tiny bonus there's a MicroSD/SD adapter with the Raspberry logo.

The pins are wisely covered with a soft rubbery cover.
The box also has a hefty manual, another nod to the days of yore. But I was surprised to find it was in Swedish. As a Finn I wanted the Swedish-keyboard model, but not necessarily the Swedish manual! However I don't see myself as needing the manual that much (and of course I can read Swedish a bit).
The 400 is small enough to stick into a carry bag, but I'd cover it somehow before doing that. The cardboard box was rather huge and can't be used as a protective container in a small bag.
Not that anyone promised, but the box had no stickers :(
Booting up and using Raspbian
The tiny 16GB MicroSD card is already in, and after booting the first time the 400 will take few rounds to compose itself.
After setting the screen size and network, I'm in the Raspbian environment. I needed to adjust the keyboard layout to swedish before it accepted those ä's and ö's.
The keyboard is nice, maybe not as good as the comparable Apple Mini keyboard, which has nearly identical size and layout. But it's much better than some cheap alternatives I've tried in the past. This has a separate Delete key, but no separate Page Up/Down/Home/End/Ins keys.
The mouse, although with nice colours, is quite a lightweight. I'd prefer the wheel material had some more friction, it feels squicky and "wet". Even if the mouse connector has a logo, the mouse itself does not have a Raspberry logo on top. Ok, it might have looked a little silly.
There's a handy "soft-power" key combination, holding down the raspi-key and F10 switches the computer on and off, so I don't have to pull the plug.
Not 100% certain but apparently displays cannot be hot-plugged, which I guess is the usual Raspberry boot thing.

Ahhh... the good old uncluttered desktop.
On the Raspbian desktop, the Raspi key opens the start menu, and with combinations of tab, shift-tab and cursor keys most things can be done without a mouse.
To have ssh access from another computer, it has to be first enabled from the Preferences.
Chromium browser is surprisingly bearable with the more plain sites. Youtube felt quite clunky and modern ads can also be a pain in the ass.
I edited some portions of this blogger blog post using the 400, and it felt possible, although not entirely fast. Google Docs felt a tad too slow to use really productively, but small text documents could be worked on. So, the browser-based cloud possibilities are somewhat limited, but obviously there might be some more lightweight sites too.
The 400 is quite capable of running the offline Libre Office suite, with word processing and spreadsheet. This could already be valuable for some.
I downloaded the Processing projects Multipaint and Petscii editor, and found these to be quite useable, although a better mouse is recommended! I didn't have to install a separate Java runtime environment either.
The Whining part
The integrated form-factor comes with some trade-offs. After connecting the PSU, Ethernet, HDMI and Mouse, there's an array of cables sticking out from the back and given how stiff these cables are these don't all fold as smoothly as 8-bit computer cables did.
To minimize this problem one can use wi-fi and even a Bluetooth mouse, although I'm personally through with battery-powered mice.
I'd probably want to put this computer away once in a while alongside with the peripherals. But unless the cables are separated and put away carefully, the computer is an uncomfortable mess of wires that doesn't really fit anywhere. It's worth saving that cardboard box.

What a compact computer!
I have to repeat that these issues are almost inevitable with a computer-in-a-keyboard, and it's still a more ordered package than a loose Raspberry.
The microHDMI connector is problematic to me, as I still don't have a HDMI-connector equipped display. I had to test it first with a TV but all the displays I've dedicated for computer use are slightly old and DVI-equipped.
Also, looking around it appears a microHDMI->DVI cable isn't really a thing, I couldn't simply go to a store and buy one. What I did was get a 10€ adapter that makes the HDMI end into a DVI, and this is a good enough solution for now. This doesn't have sound, and since there is no separate audio out so all in all that microHDMI connector is a small minus for me, especially as the composite output is no longer available either.
What next?
I'm not sure what to use the Raspberry 400 for. It's smaller than a laptop, so it might be carried around easily, but this assumes there's a useable display at that other location. Also, now that the Pi is in a definitive case, I'm deprived of the never-finished process of creating my own cases for the Pi.
For now I've not tested any of my other Raspberry environments. How well does it work as Amibian or something else? After I get the 400 better positioned with a dedicated display, I can look at these other environments.
What I didn't think through beforehand is that of course every card I've created for Raspi 3 won't work directly here and I have to find the 400-compatible versions.

2 Shares
#Raspberry Pi based kit tests liquid food quality • 𝖳𝗎𝗑 𝖬𝖺𝖼𝗁𝗂𝗇𝖾𝗌 ⇨ http://www.tuxmachines.org/node/155669 #GNU #Linux #TuxMachines

14 Likes
2 Comments
2 Shares
Bonjour tout le monde, je suis #nouveauici. Mes centres d'intérêt sont #anime, #animeart, #cat, #caturday, #chamedi, #chatmedi, #chemindefer, #chemin-de-fer, #depression, #et-pleins-d-autres-trucs (il devait apparaître à la fin celui-là 😛), #freesoftware, #gafam, #gaming, #gamingonlinux, #gaming-on-linux, #gta, #happyhardcore, #humour, #jdg, #jeu, #jeu-de-société, #jeux, #jeux-video, #jouet, #jouets, #joueurdugrenier, #linux, #linuxgaming, #logiciellibre, #logiciel-libre, #lol, #manga, #manga-anime, #mdr, #nsfw, #peertube, #phobiesociale, #phobie-sociale, #politique, #prodigy, #psychologie, #railroad, #raspberry, #raspberrypi, #raspberry-pi, #retrogaming, #sncb, #sncf, #socialisme, #steam, #surveillance, #sysadmin, #toy, #toys, #train, #trance, #vieprivée, #vie-privée, et pleins d'autres trucs que je rajouterai plus tard.
J'espère pouvoir échanger pleins de trucs sur pleins de sujets avec vous. ^^
++
Amateurfunkrelevant...
Ein Transceiver für den Raspberry. Schickes Teil. Kostet knapp 100€. So langsam wird es für mich wieder interessant.
#sdr #ham #raspberry
https://www.youtube.com/watch?v=1zNWX85wa8Y
@actro@pluspora.com
6 Likes
1 Comments
These #RunnerBean #plants are currently #blooming and as such as big tourist attraction or theme park for #bumblebees and other #pollinators.

Here are some close up #photographs of our stripy, furry visitors. They only seemed to spend fractions of a second at each flower and so it was difficult to catch them in the act.


For a bit of variety, here's a #ladybird on a leaf, probably on its way hunting for aphids.

Finally, here's another #bee, this time on a #raspberry plant.

#MyWork #MyPhoto #CCBYSA #DSLR #Nikon #D7000 #Nature #Horticulture #Insects #Summer
18 Likes
Mein digitaler Bilderrahmen auf Basis von #photOS ist nun auch fertig :)
Das Schöne an dem Teil: Mit dem richtigen Upload-Link können Freunde und Familie aus der Ferne ebenfalls Fotos auf meinen Fotorahmen senden. Aktuell bei dem blöden #social #distancing eine nette Sache.
Digitalen Fotorahmen mit Bild-Upload per WebDAV-Share selbst gebaut
#opensource #fotorahmen #photoframe #bilderrahmen #myphoto #diy #raspberry #raspberrypi #linux #corona

Bonjour tout le monde, je suis #nouveauici. Mes centres d'intérêt sont #amis-de-la-terre, #anv-cop21, #archives, #artemisiaannua, #arvopart, #autonomie-alimentaire, #autonomie-energetique, #bach, #bassines, #bd, #bicyclette, #blagues, #chetbaker, #cinema, #cinemutins, #conference-gesticulee, #couture, #cyclotourisme, #danzon, #decroissance, #degooglisons, #diaspora, #diy, #duke-ellington, #educationpopulaire, #eos, #fairphone, #fanfare, #framaconfinement, #framasoft, #france-culture, #greenpeace, #humour, #jazz, #jazzmanouche, #kokopelli, #libererfacebook, #linageos, #linux, #logiciel-libre, #logiciellibre, #mastodon, #mediapart, #mer, #milesdavis, #moebius, #mozart, #music, #natation, #nobassaran, #nouveauici, #nouvelle-aquitaine, #nouvelleici, #opensource, #orchestra-aragon, #parjupiter, #permaculture, #plantes-sauvages-comestibles, #poitiers, #question, #rangement, #raspberry, #raspberrypi, #recette-de-cuisine, #repassage, #rumbacongolaise, #smartphone, #stravinsky, #swing, #tiny-house, #tubaskinny, #voile, #voyageavelo, #xr et #zappa.